Useful Image Editing Techniques – Tips for Photographers
“This guy looooks sooooooooo coooool in this picture” Want to be that man/woman in the image? Want to make all girls/guys go crazy adding you on facebook or follow you on twitter just because your image looks epic. Well I have the perfect tips for all you people to make your dream come true.
Everyone is not a perfect capturer of moments, each person wasn’t born holding a DSLR in his/her hands. Plus holding a professional camera doesn’t make you a pro photographer. Therefore errors in pictures are bound to occur.
Below are some useful image editing tips which can make your photo look more realistic, error-free and most importantly extremely HOT! If that image is yours obviously! Moreover you don’t have to be a Photoshop expert to use these tools. These are simple and easy to use, no rocket science.
1. The Bokeh: |
 |
| Most of you already know what this is, and for those who don’t know yet it’s called a ‘Bokeh’. It is the blur, or the aesthetic quality of the blur in out-of-focus areas of an image mostly the result of a shallow depth of field. Use the Photoshop blur filters to minimize the effect. |
2. Black and White |
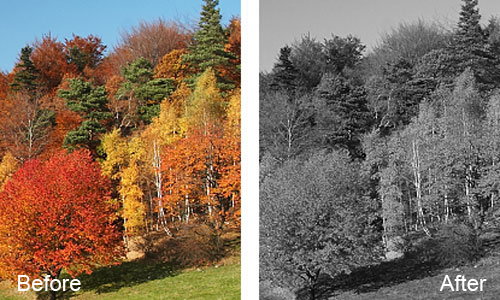 |
| Want to give your image a classic black and white or a grayscale look? Well this is the perfect tool to alter your picture in this way. |
3. Pixel Adjusting |
| Resizing images is a daunting task—having to deal with pixelated results is just torture. De-pixelize your image to give your image a clean and smooth effect as the size is altered. |
4. Crop Tool |
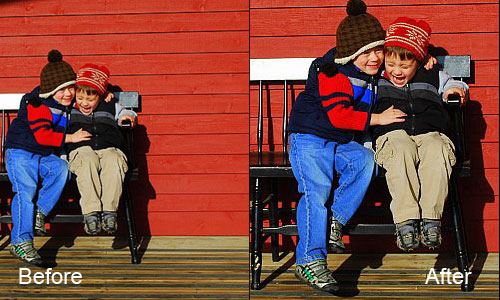 |
| The crop tool is one of the most underutilized tools in Photoshop. Does your picture contain something you don’t want? Or do you want to portray or emphasize on a specific subject? Crop tool is your answer. Crop out the details you don’t want to appear on the image and focus on the main object. This tool defines your picture more intensely. |
5. Add Text |
 |
| You can add a caption to identify the people in the picture, the location, or the date of the event using almost any image editor. Adding text is another way to define your picture and make it clear to the audience viewing it. |
6. Sharpening |
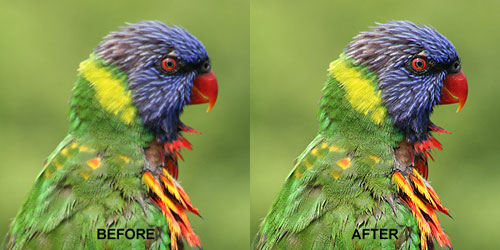 |
| Is your photo looking too dark? Apply a Sharpen or Unsharp Mask effect at this point, to create a wider difference between light and dark zone of your image. |
7. Remove or Repair |
 |
| I understand the hatred and angriness one feels when we snap an eye catching image and there stands in between an annoying tourist in front of the beautiful monument, ruining the essence of the photograph! Well, you can use the Adobe Photoshop CLONE STAMP tool to take such undesirable elements out of your photos. |
8. HDR Effect |
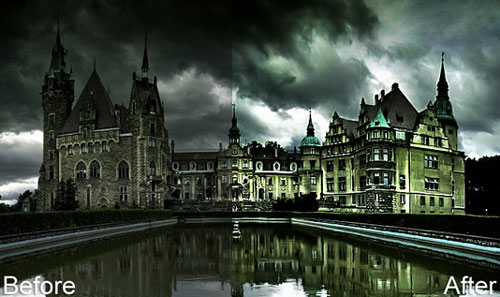 |
| Want a more realistic look to your photo? Use HDR. High dynamic range photos are a world unto themselves, and difficult to pin down in a few sentences. You can get the HDR effect by shooting multiple images of the same scene. Usually you would need 3 exposures minimum – one for high-lights, one for mid-tones and one for low-key areas. Combine them all in Adobe Photoshop layers to get the HDR effect! |


